What Does a Red Light on the Motherboard Mean? – Fix It 2025!
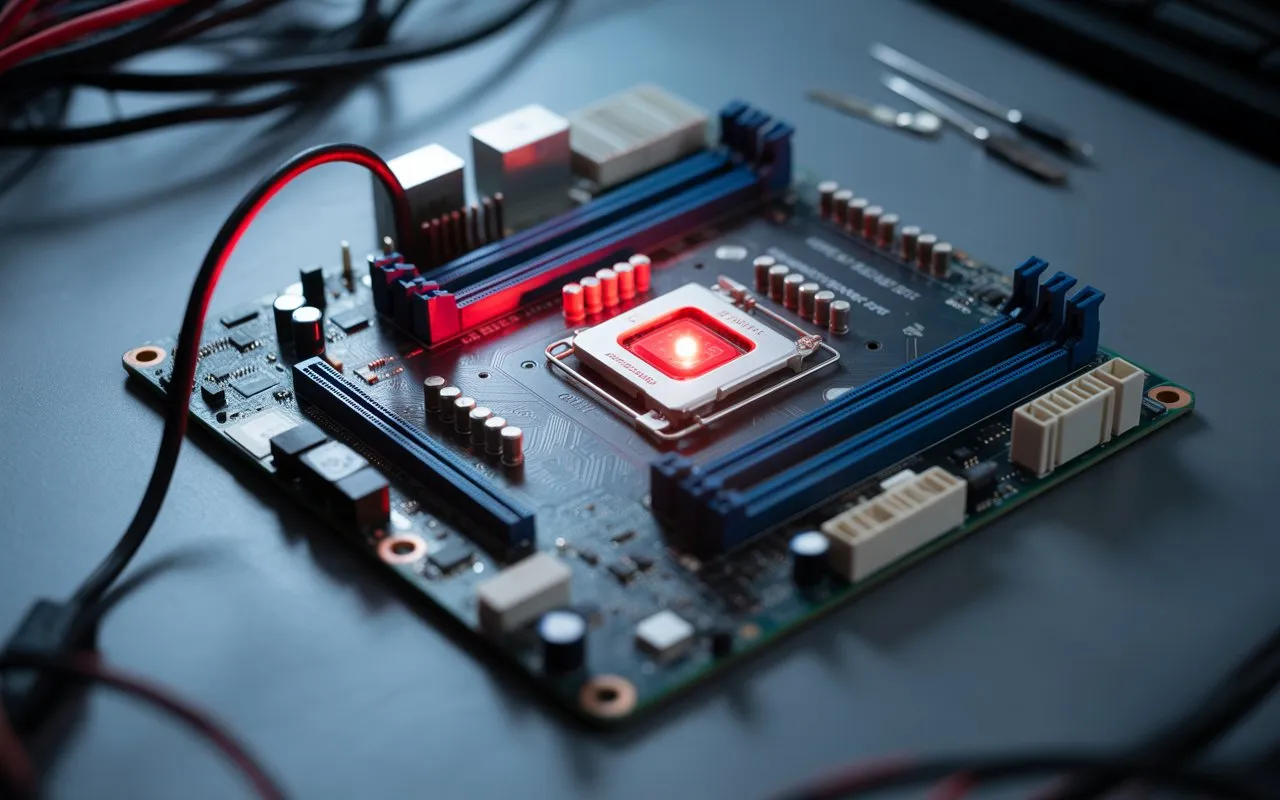
When you see a red light on your motherboard it is not just an annoying alert it is a warning that something is wrong inside your computer. A motherboard red light is a sign that your system is facing a critical issue and ignoring it could lead to more serious problems.
This guide will explain in simple terms what that red light means, common reasons it happens, and how you can fix it, so you don’t panic next time it lights up.
What Does a Red Light on a Motherboard Mean?
A red light on your motherboard typically signals that one or more of your computer’s critical components aren’t working correctly. Modern motherboards are equipped with LED indicators that help pinpoint exactly what’s causing the issue. These red lights could indicate problems with components such as the CPU, RAM, graphics card, or power supply.
The red light usually points to a hardware failure, and fixing it often requires a bit of troubleshooting. The good news is, you don’t have to be a tech expert to solve the problem. Once you understand the possible causes, fixing the issue becomes a manageable task.
Common Causes of the Red Light on a Motherboard
There are several reasons why a red light might appear on your motherboard. The light is an indicator of a problem, but the exact cause can vary. Let’s break down the most common causes.
Power Supply Problems
If your Power Supply Unit (PSU) is faulty or not delivering enough power, your motherboard could show a red light. The PSU powers your computer, and if it’s malfunctioning, it might cause your motherboard to signal a red light.
CPU Issues
A red light on the CPU LED can indicate that your processor is overheating, not installed correctly, or even defective. The CPU is the brain of your computer, and if it fails, your system can’t run properly.
RAM Problems
A red DRAM LED often means there’s an issue with your computer’s RAM (Random Access Memory). It could be improperly installed, faulty, or incompatible with your motherboard. This can prevent your system from booting up.
Graphics Card Problems
The VGA LED lights up red when there’s a problem with your graphics card. This could be caused by a loose connection, a damaged graphics card, or an issue with the PCIe slot where the card is installed.
CMOS Battery Depletion
The CMOS battery stores your BIOS settings. If the battery runs out, the motherboard might not be able to retain its settings, causing the red light to appear.
Overheating Issues
When your system’s internal components get too hot, your motherboard will display a red light as a warning. Overheating often occurs when your cooling system isn’t functioning correctly or when there’s excessive dust inside the computer case.
Read More: What Is an ITX Motherboard? – A Compact Solution 2025!
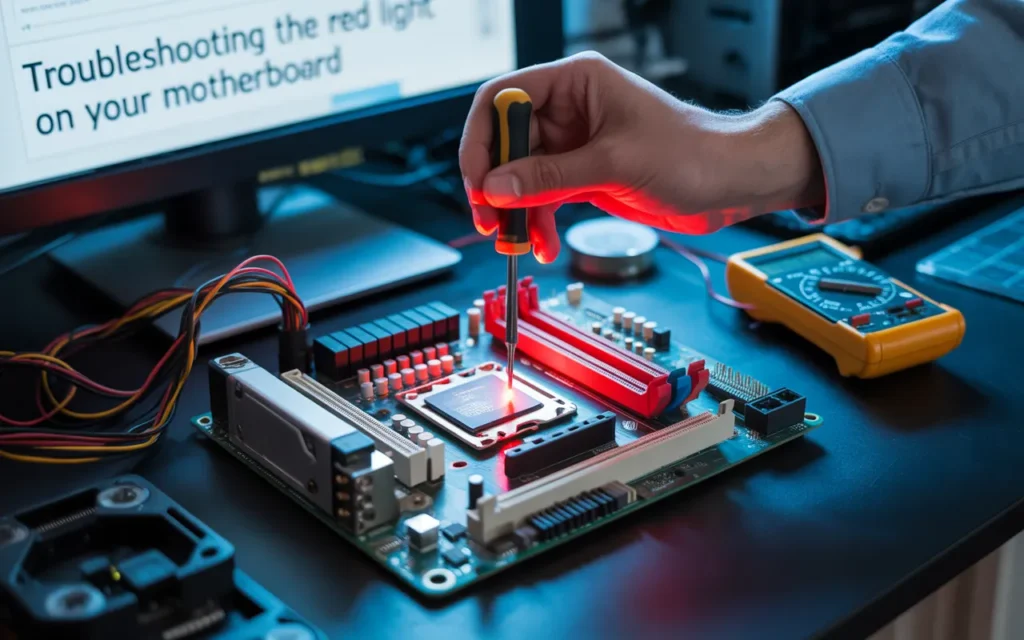
Troubleshooting the Red Light on Your Motherboard
Now that you know what the red light on the motherboard typically indicates, let’s go over how you can fix it step by step.
Step 1: Basic Troubleshooting
The first thing you should do is basic troubleshooting. Here’s what you can do:
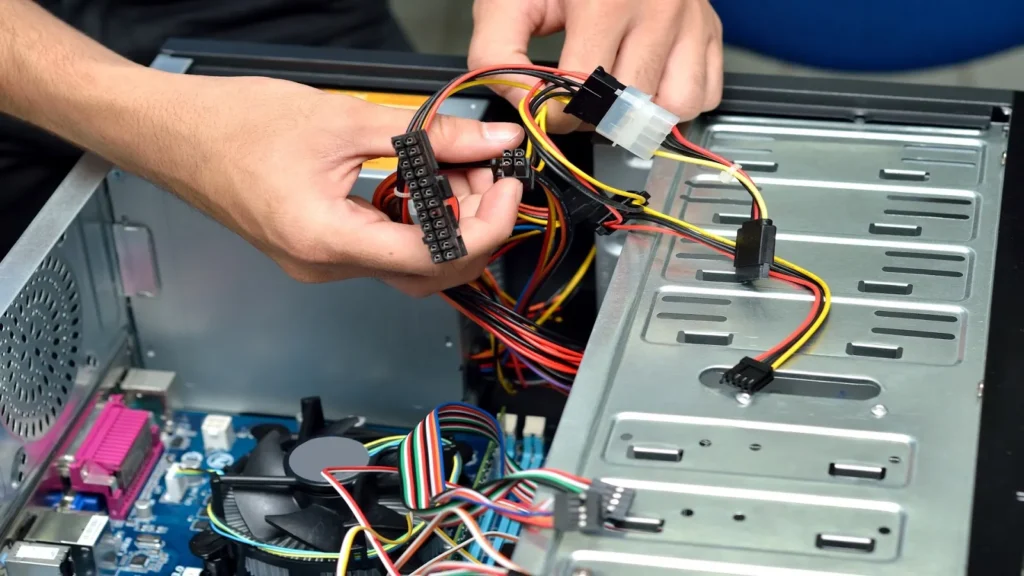
- Check all cables: Ensure that the power cables, internal wiring, and all connections are secure. Sometimes, a loose cable can trigger the red light.
- Restart your computer: restarting the system can help reset everything and fix minor glitches.
- Check the manual: Your motherboard’s manual will tell you what each LED light means, and you may find the answer quickly.
Step 2: Checking the Power Supply Unit (PSU)
A power supply failure is a common cause of the red light on the motherboard. Here’s what you can do:
- Test your PSU: If you have a multimeter, you can use it to check the output of your PSU.
- Swap out the PSU: If you have another working PSU available, you can replace the faulty one temporarily to see if it resolves the issue.
Step 3: Fixing CPU Issues
If the red CPU light is on, it means there’s a problem with your processor. Here’s what you can do:
- Reseat the CPU: Gently remove and reinstall your CPU to ensure it’s seated correctly in the socket.
- Check the cooling system: Make sure your CPU cooler is working. If it’s not cooling correctly, your CPU could be overheating, causing the red light.
- Replace the CPU: If reseating doesn’t work, you may need to replace the processor, especially if it’s defective.
Step 4: Resolving RAM Issues
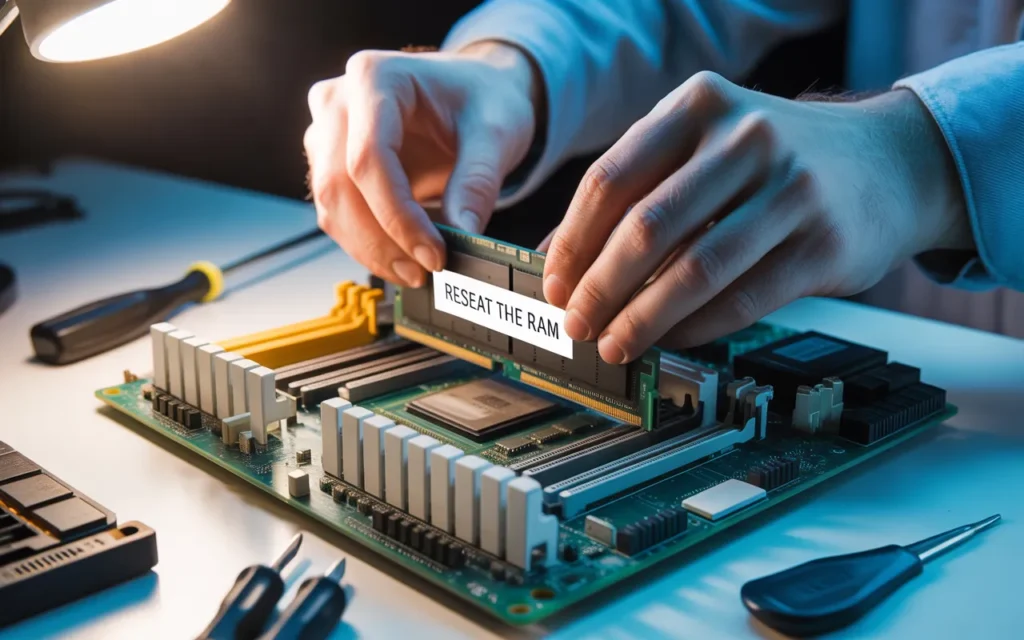
A red DRAM LED usually indicates a problem with your computer’s memory. Here’s how to fix it:
- Reseat the RAM: Remove the RAM sticks and put them back in their slots to make sure they are correctly seated.
- Test with one RAM stick: If you have multiple RAM sticks, try booting the system with just one stick installed at a time. This helps identify a faulty module.
- Replace faulty RAM: If one of the RAM sticks is defective, replacing it should remove the red light.
Step 5: Addressing Graphics Card Problems
If the VGA LED is red, follow these steps:
- Reseat the graphics card: Make sure the graphics card is seated correctly in the PCIe slot.
- Test another slot: If reseating doesn’t help, try moving the card to a different PCIe slot.
- Test with another card: If you have another graphics card available, try swapping it out to see if the issue is with the card itself.
Step 6: Updating BIOS and Firmware
A BIOS error can cause the red light to appear. To fix this:
- Check your BIOS version: An outdated BIOS can sometimes cause issues. Check if your motherboard has the latest firmware.
- Update BIOS: Visit the motherboard manufacturer’s website and download the latest BIOS update. Follow the instructions carefully to install the update.
Step 7: Cooling System Fixes
Overheating can cause the motherboard to show a red light. To fix overheating problems:
- Clean your computer: Dust buildup inside the computer case can block airflow and cause overheating. Clean the fans and vents with compressed air.
- Improve cooling: Ensure your system has sufficient cooling. Consider adding more case fans or upgrading your CPU cooler.
Preventive Measures to Avoid Red Light on Your Motherboard
While it’s great to fix the red light when it happens, preventing it is even better. Here’s how you can avoid future problems:
Regular Maintenance
Regular maintenance can keep your system running smoothly. Make sure to clean your computer regularly, check for any loose cables, and keep your cooling system in top shape.
Using Compatible Hardware
When adding or replacing parts, always check for hardware compatibility. Using incompatible RAM, CPU, or graphics cards can lead to issues, including the dreaded red light.
Monitor System Temperatures
If you plan to overclock your CPU or GPU, keep a close eye on the system temperature. Overclocking can cause overheating, which can trigger the red light on the motherboard. Always ensure that your system has proper cooling before overclocking.
Conclusion:
Seeing the red light on the motherboard can be stressful, but it’s usually a manageable problem once you understand what it means. By following the steps outlined above, you can troubleshoot and fix the issue yourself. Always start with basic checks, then move on to testing and replacing parts as needed. Remember, regular maintenance, proper cooling, and using compatible hardware are the best ways to prevent motherboard issues. Keeping your system clean and ensuring that everything is installed correctly will help keep your computer running smoothly for years to come.
Also Read: How to Update BIOS Without a CPU – Easy Guide 2025!
FAQs:
1. Why Is a Red Light Appearing on My Motherboard?
A red light on your motherboard is usually a sign of a malfunctioning part, such as the CPU, RAM, graphics card, or power supply. It’s a warning to identify and fix the issue quickly to avoid further damage.
2. Is It Safe to Use My Computer When the Red Light Is On?
While your computer may still run with a red light, it’s not recommended. The red light indicates a serious problem that needs attention to prevent long-term damage or system instability.
3. What Should I Do If My CPU Has a Red Light?
If the CPU LED is red, check for overheating and reseat the CPU to ensure it’s properly installed. If problems persist, replacing the processor or improving cooling might be necessary.
4. How Can I Tell If the Red Light Is Caused by My Power Supply?
To determine if the power supply unit is the issue, check the cables and connections, or use a multimeter to test the PSU. Replacing the power supply will likely fix the problem if it’s faulty.
5. How Can I Prevent the Red Light from Appearing on My Motherboard?
To avoid future red light warnings, maintain your system by keeping it clean, ensuring all hardware is compatible, and monitoring system temperatures to prevent overheating. Regular checks and proper cooling will keep your system running smoothly.