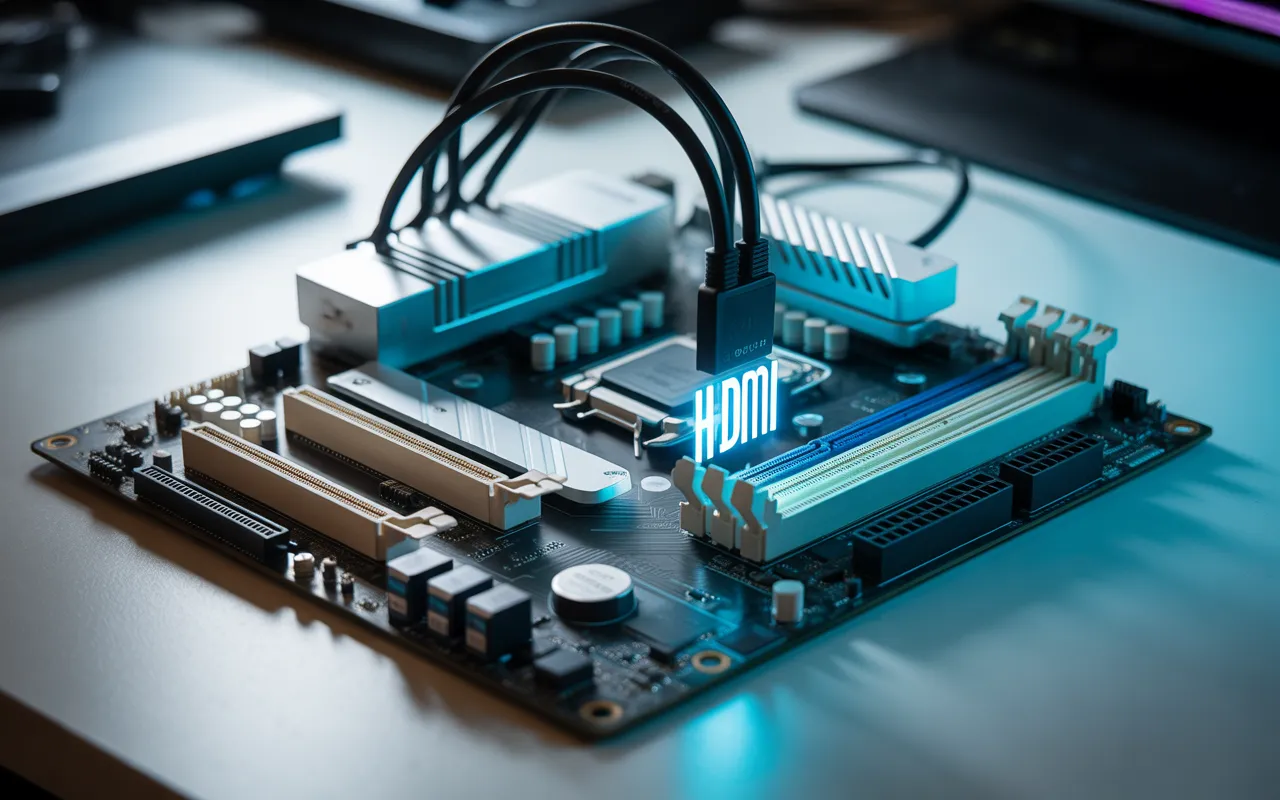
How to Enable Motherboard HDMI – Complete Guide 2025!
In case you need to widen your computer connection to a monitor or TV and wish to connect through HDMI, you may need to figure out how to enable motherboard HDMI. Nowadays, the majority of motherboards come with an HDMI connector that outputs to integrated graphics. This enables you to attach a direct access to a screen without a dedicated graphics card. Enabling HDMI on your motherboard is an easy task and can be done after changing a few settings (BIOS/UEFI) and by installing the appropriate drivers.
Here in this guide, we shall take you through step by step so you can easily get your motherboard HDMI up and running and have a smooth and clear output by display.
Introduction:
When setting up your computer, you might notice an HDMI port on the back of the case. But do you know whether this port is connected to your graphics processing unit (GPU) or if it’s part of the motherboard HDMI? The motherboard HDMI allows you to use your computer’s integrated graphics to send the signal to a display. This is a great solution for everyday tasks, such as browsing the web, watching videos, or working with office applications.
However, if you need more advanced graphics performance for tasks like gaming or video editing, you may want to switch to GPU HDMI for a better visual experience.
Why Enabling HDMI on Your Motherboard Is Important:
Enabling HDMI on your motherboard is useful because it allows you to connect your PC directly to a monitor connection or TV without needing a dedicated graphics card. If you don’t need high-end graphics processing, using your motherboard’s HDMI port is a cost-effective and convenient solution.
The integrated graphics are ideal for light applications and multimedia needs. But if you’re into gaming, 3D modeling, or content creation, you should consider using a dedicated graphics card and connecting it via GPU HDMI for better frame rates and signal quality.
How to Check if Your Motherboard Has HDMI Support:
It’s easy to check if your motherboard has an HDMI port. Start by examining the back panel of your computer case. Look for an HDMI port; it is usually labeled clearly. If you cannot find it, check the motherboard manual or visit the manufacturer’s website for more details.
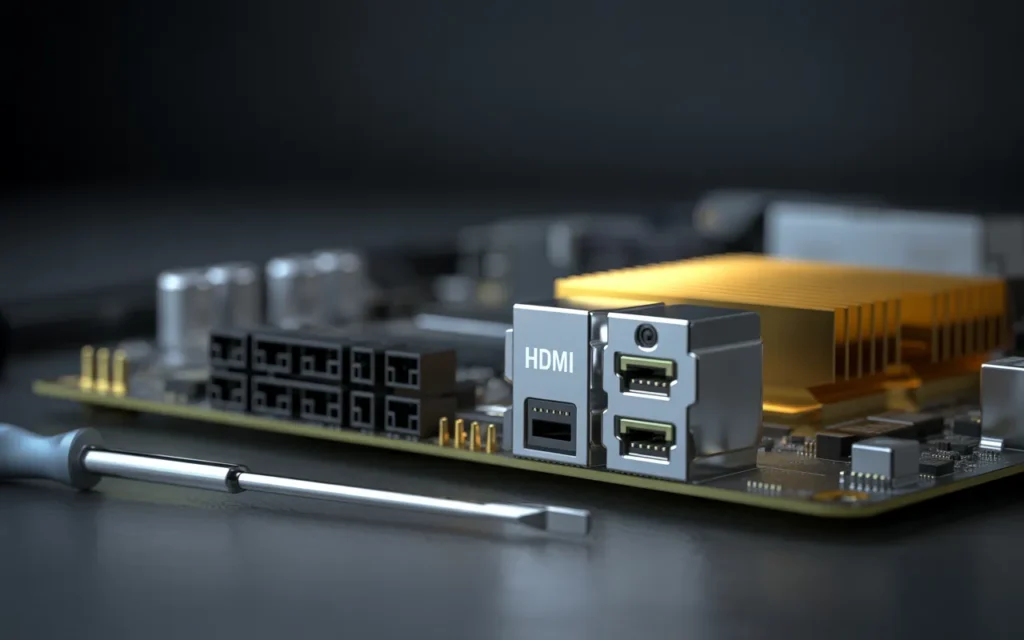
Most modern motherboards include HDMI ports to support integrated graphics. However, not all CPUs include integrated graphics, so if your motherboard doesn’t have an HDMI port, you may need a dedicated graphics card to enable GPU HDMI.
What Are Integrated Graphics, and How Do They Relate to HDMI?
Integrated graphics are built directly into the CPU rather than using a separate graphics card. This is ideal for basic computing needs, like watching videos, browsing the internet, or light multimedia tasks. The motherboard HDMI port connects to the integrated graphics to display content.
While integrated graphics are sufficient for everyday tasks, they won’t provide the enhanced graphics performance needed for more graphics-intensive tasks like gaming, 3D modeling, or video editing. In such cases, a dedicated graphics card that supports GPU HDMI will provide better visual performance and smoother gameplay.
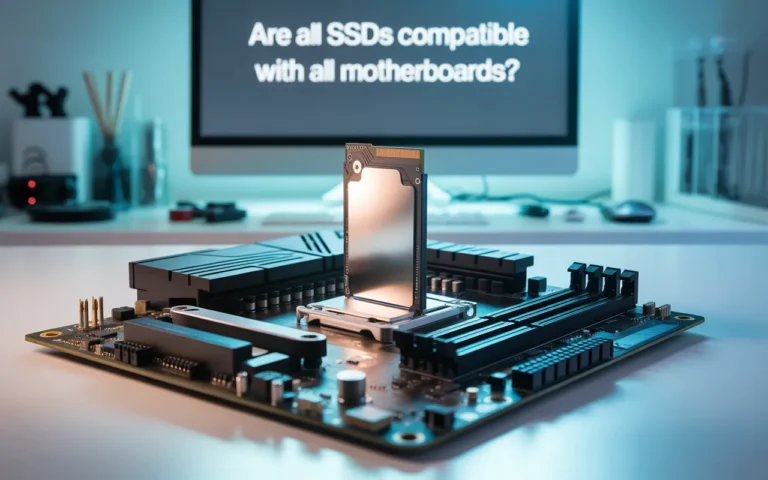
Read Also: Are All SSDs Compatible with All Motherboards? – Guide 2025!
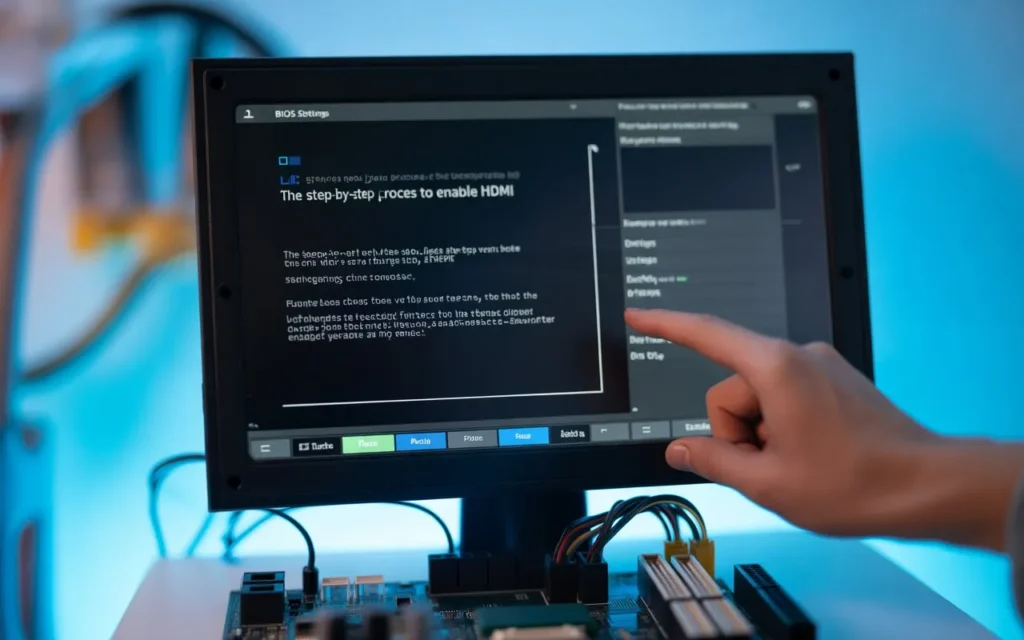
The Step-by-Step Process to Enable HDMI in BIOS:
Accessing BIOS to Enable HDMI:
To enable HDMI on your motherboard, you’ll need to access the BIOS/UEFI settings. Restart your computer and press the BIOS access key (usually F2, Del, or Esc) during boot-up. Once in the BIOS, navigate to the integrated graphics settings.
Configuring BIOS for HDMI Output:
In the BIOS, locate the Primary Display or IGD (Integrated Graphics Device) option. Ensure that the integrated graphics are enabled, as this will activate the HDMI output from your motherboard. Some BIOS versions may have a setting called IGD Multi-Monitor; make sure this is turned on to allow simultaneous use of multiple displays. After making these changes, save and exit the BIOS.
Understanding the BIOS Settings to Enable HDMI:
In BIOS, you’ll encounter several settings that help control the HDMI port. The Primary Display option allows you to choose between integrated graphics or a dedicated GPU. Set it to IGD for motherboard HDMI. Additionally, the IGD Multi-Monitor setting should be enabled to ensure the HDMI port works while using other display outputs.
These BIOS settings ensure that your motherboard HDMI is activated and can work with your integrated graphics. Once configured, your HDMI output should be ready for use.
What to Do if Your Motherboard Doesn’t Have a Dedicated GPU:
If your computer doesn’t have a dedicated graphics card, don’t worry! You can still use the motherboard HDMI if the CPU supports integrated graphics. However, if your CPU lacks integrated graphics, you will need to install a dedicated graphics card that supports GPU HDMI.
Without a dedicated GPU, your system will depend entirely on the integrated graphics for basic graphics performance. This may not be enough for high-end gaming or professional video editing, so installing a graphics card is recommended for advanced rendering capabilities.
Also Read: How to Enter BIOS on ASRock Motherboard – Full Guide 2025!
How to Enable HDMI on Your Motherboard for Windows Users:
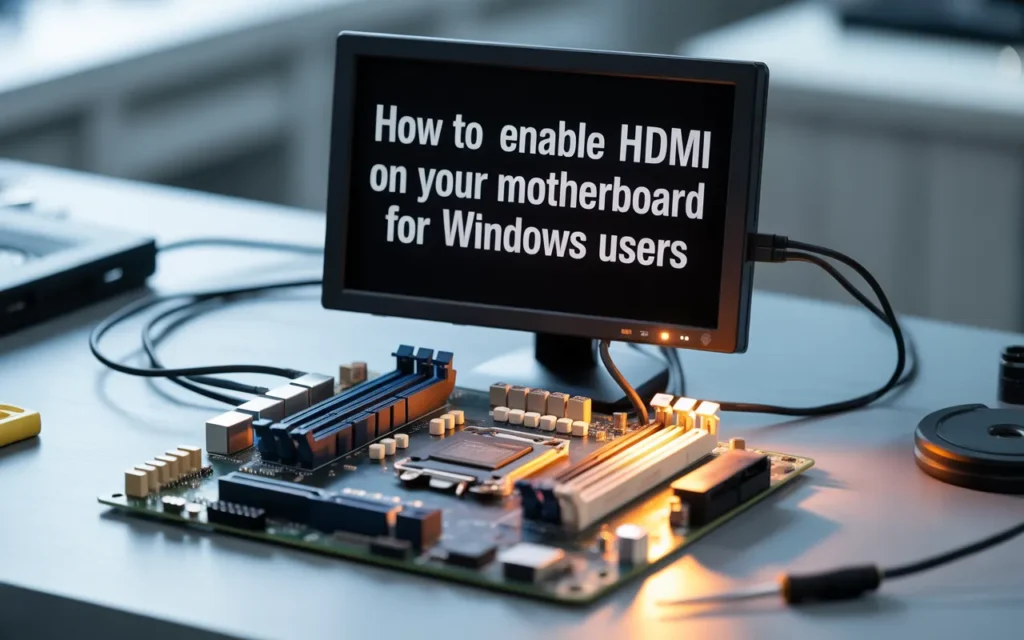
Once the HDMI output is enabled in BIOS, you need to configure it in Windows. Right-click on the desktop and select Display Settings. If your HDMI port is properly connected, Windows should automatically detect the display. You may need to adjust resolution settings to match your monitor’s specifications.
If your HDMI connection is not detected, try restarting the computer or checking the display input on your monitor to make sure it’s set to HDMI.
How to Access BIOS/UEFI to Enable HDMI on Your Motherboard:
To enter the BIOS/UEFI setup, restart your computer and press the key (such as F2, Esc, or Del) during boot. Once you’re inside the BIOS, navigate to the integrated graphics or primary display settings. If your motherboard supports HDMI output, make sure integrated graphics are enabled.
Quick Tip:
If you’re unsure about the BIOS key, refer to your motherboard’s manual for the exact instructions on how to enter the BIOS setup.
Installing Necessary Drivers for Your Motherboard HDMI Output:
After enabling HDMI in BIOS, you must install the necessary drivers for your integrated graphics. These drivers are crucial for the HDMI port to work properly. Visit your motherboard’s manufacturer website to download the latest driver updates. Install these drivers to ensure the HDMI signal is strong and the display functions as expected.
Driver Installation Steps:
- Visit the motherboard manufacturer’s website.
- Locate the drivers section.
- Download and install the latest integrated graphics drivers.
- Restart your computer to complete the installation.
How to Set HDMI as the Default Display Output in Windows:
After your HDMI output is set up, you need to configure Windows to use it as the primary display. Right-click on the desktop and choose Display Settings. In the settings window, select the HDMI display as the main monitor.
Adjust resolution settings and ensure the correct refresh rate for a smooth visual experience. This will ensure that HDMI output is the default display for your system.
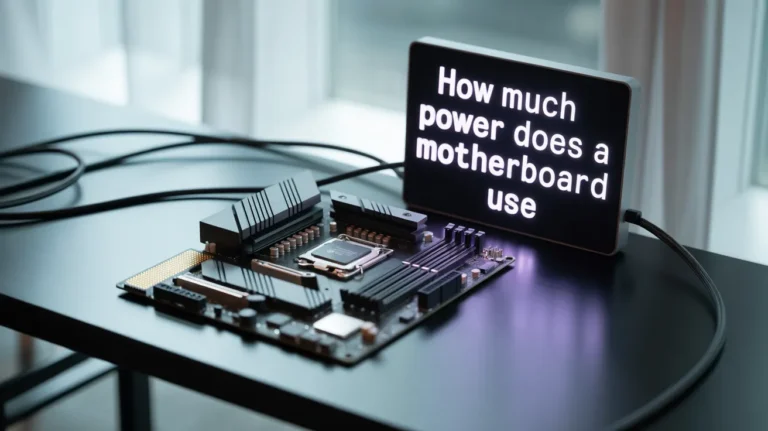
Read Also: How Much Power Consumption of Motherboard – Full Guide 2025!
Troubleshooting: No Signal on HDMI After Enabling
Sometimes, after enabling HDMI, you might encounter a no signal error. Here’s how to troubleshoot it:
- Check if the HDMI cable is securely connected to both the monitor connection and the computer.
- Ensure your monitor is set to the correct HDMI input.
- Try restarting the system to allow Windows to detect the HDMI signal properly.
If the issue persists, you might need to update your graphics drivers or check the BIOS settings again.
What to Do If Your HDMI Output Isn’t Working After BIOS Configuration:
If your HDMI output doesn’t work even after configuring BIOS settings, try the following steps:
- Recheck the integrated graphics settings in BIOS.
- Confirm the HDMI cable is in good condition and properly connected.
- Ensure the correct display input is selected on your monitor.
By following these steps, you should be able to resolve any issues with your HDMI output and enjoy a seamless connection for your tasks.
Conclusion:
In conclusion, enabling HDMI on your motherboard is a straightforward process that can save you from needing a dedicated graphics card. For basic multimedia tasks, integrated graphics via the motherboard’s HDMI port are more than enough. However, for graphics-intensive tasks like gaming or video editing, you may need to rely on a dedicated GPU HDMI for enhanced graphics performance. With the step-by-step process outlined in this article, you can easily set up and troubleshoot your HDMI output.
FAQs:
1. Can I Enable HDMI Without Integrated Graphics?
No, motherboard HDMI won’t work without integrated graphics in your CPU. You’ll need a compatible processor or use a dedicated GPU instead.
2. Why Is My Motherboard HDMI Not Working?
It could be due to disabled BIOS settings, an unsupported CPU, or wrong monitor input. Ensure integrated graphics are enabled in BIOS.
3. Is It Safe to Use Both GPU and Motherboard HDMI?
Yes, it’s safe and ideal for dual monitors. Just enable iGPU in BIOS to use both ports at the same time.
4. How Do I Know If My CPU Supports Integrated Graphics?
Check the CPU model online; Intel CPUs without “F” and AMD “G” series usually include integrated graphics.
5. What If There Is No Option in BIOS to Enable HDMI?
Update your BIOS and look under “Advanced” or “Chipset” settings. If still missing, your motherboard or CPU may not support it.