How to Connect a PWM Cable to Your Motherboard – Guide 2025!

Keeping your computer cool is key to its long life and performance. One important step is to set up a PWM cable connection right on your motherboard. A PWM (Pulse Width Modulation) cable helps control fan speeds better. This leads to cooler systems and less noise. Knowing how to connect a PWM cable properly is essential for better cooling.
This guide will walk you through the steps. It’s a detailed motherboard PWM cable setup overview. You’ll learn how to cool your computer system effectively.
Understanding PWM Cables and Their Function:

PWM cables are key to managing fan speed in computers. They help cool systems better and make them quieter.
What is a PWM Cable?
A PWM cable connects fans to a motherboard. It lets fans adjust their speed based on cooling needs. This is different from DC fans that run at a fixed speed.
The cable has four pins. The fourth pin sends a PWM signal. This lets the motherboard control fan speed by changing the PWM signal.
Benefits of PWM Fan Control:
PWM fan control has many advantages:
- Improved Cooling Efficiency: It adjusts fan speed for better cooling.
- Reduced Noise Levels: Fans run quieter when the system is idle.
- Increased System Durability: It reduces fan load, possibly making them last longer.
Types of PWM Cables and Connectors:
PWM cables and connectors vary. The 4-pin PWM connector is common on modern systems.
Some setups use splitters or hubs. These connect multiple fans to one PWM header, making cable management easier.
Read Also: How to Enable Motherboard HDMI – Complete Guide 2025!
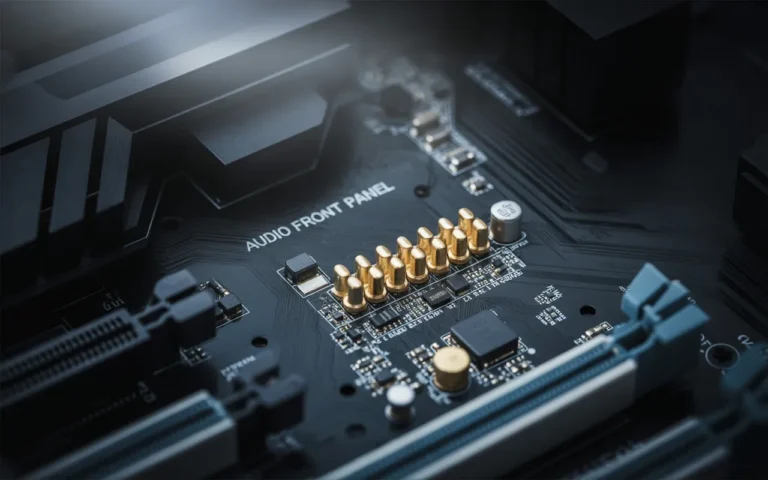
Identifying PWM Headers on Your Motherboard:

Finding the PWM headers on your motherboard is key to a good PWM cable connection. These headers control fan speed precisely. To spot them, know where they are, how they differ from DC headers, and check your motherboard’s manual.
Common PWM Header Locations:
PWM headers are usually near the CPU or along the motherboard’s edge. They’re labeled as “PWM” or “Fan Headers.” Some boards have more than one PWM header. So, always refer to your motherboard manual to find the right ones.
Differentiating Between PWM and DC Headers:
PWM headers have 4 pins, while DC headers have 3. The fourth pin in the PWM headers is for the PWM signal. Always check the pin configuration to make sure you’re using the right header for your PWM fan.
Reading Motherboard Documentation:
Your motherboard manual is a great resource for finding PWM headers. It shows a detailed map of the motherboard, pointing out PWM headers. Look for sections on fan headers and PWM control.
PWM Header Configurations on Different Motherboard Brands:
Various motherboard brands have different PWM header setups. For instance, some ASUS boards have “PWM” or “Water Pump headers” for liquid cooling. Always check your manual for specific brand details.
Understanding these points helps you find the PWM headers on your motherboard. This ensures a correct and effective PWM cable connection.
- Check your motherboard manual for PWM header locations and configurations.
- Verify the pin configuration to differentiate between PWM and DC headers.
- Look for labels or markings on the motherboard indicating PWM headers.
Preparing for PWM Cable Connection:

Before you start, getting ready is important. You need to gather tools, take safety steps, and make sure your system is off.
Required Tools and Materials:
You’ll need the PWM cable, a screwdriver, and maybe cable ties. Make sure everything fits your system.
Safety Precautions Before Installation:
Static electricity can harm your parts. Touch metal or wear an anti-static wrist strap. Hold components by the edges to avoid damage.
Powering Down Your System Properly:
Turn off your computer and unplug it. Make sure it’s off before you start.
Accessing Your Motherboard:
You might need to take out parts or open your case. Check your case manual for how to do this.
| Preparation Step | Description |
| Gather Tools and Materials | Ensure you have a PWM cable, screwdriver, and cable ties. |
| Take Safety Precautions | Ground yourself to prevent static electricity damage. |
| Power Down Your System | Shut down your computer and unplug the power cord. |
By following these steps, you can ensure a safe and successful PWM cable connection. Proper preparation is key to a smooth installation.
How to Connect PWM Cable to Motherboard: Step-by-Step Guide
A PWM cable connection to the motherboard lets you control fans better. This guide will help you connect it correctly, making your system run smoothly.
Identifying the Correct PWM Header:
First, find the right PWM header on your motherboard. Most boards have these headers, but they’re not always easy to spot.
Check your motherboard manual or look for labels on the board. You’ll often find them near the CPU or along the edges.
Orienting the PWM Connector Correctly:
After finding the PWM header, you need to align the connector correctly. Knowing the PWM pin layout is key to getting it just right.
Understanding PWM Pin Layout:
The PWM pin layout has four or more pins. Each pin has a specific job: power, ground, sense, and control. Make sure the connector fits the pins on the header.
Aligning the Connector Notch:
Most PWM connectors have a notch for a tab on the header. Getting this notch right is important to avoid damage.
Securing the Connection:
Once aligned, push the connector onto the header until it clicks. This ensures it stays in place and doesn’t come loose.
Cable Management Tips:
Good cable management keeps your system tidy and improves airflow. Use cable ties and organizers to keep things neat and boost performance.
Routing PWM Cables Efficiently:
Keep PWM cables away from other components to reduce clutter and improve airflow. Use cable ties to keep them in place.
Using Cable Ties and Organizers:
Cable ties and organizers help keep cables tidy. This makes your system look better and reduces the chance of cables getting in the way.
| Cable Management Tool | Purpose | Benefits |
| Cable Ties | Secure cables to the case or other components | Reduces clutter, improves airflow |
| Cable Organizers | Manage multiple cables together | Enhances system appearance, reduces obstruction risk |
| Cable Routing Channels | Guide cables along specific paths | Improves airflow, reduces cable wear |
By following these steps and tips, you can connect your PWM cable correctly. This will make your system cooler and more efficient.
Configuring and Testing Your PWM Connection:
After connecting the PWM cable to your motherboard, you need to configure and test it. This ensures your fans work well. You’ll access BIOS/UEFI settings, adjust fan curves, and use software for PWM control.
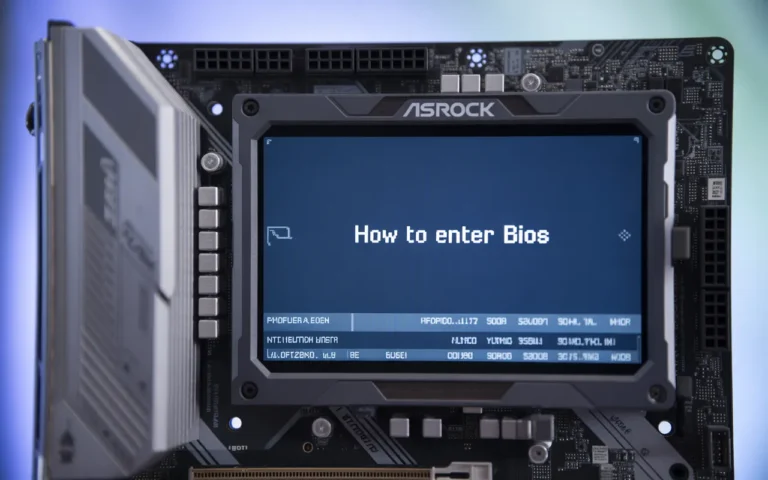
Booting into BIOS/UEFI:
To begin, boot into your system’s BIOS or UEFI firmware. The steps vary by motherboard brand. You’ll usually press a key like Del, F2, or F12 during boot.
Adjusting Fan Curves and Profiles:
In the BIOS/UEFI, find the fan control settings. Here, you can tweak fan curves and profiles for better cooling. Modern motherboards let you customize fan settings in detail.
- Set fan curves to increase speed as temperatures rise.
- Configure profiles for different scenarios (e.g., silent mode, performance mode).
- Save your settings before exiting the BIOS/UEFI.
Software Options for PWM Control:
Many motherboard makers offer software for PWM control. Examples include ASUS Fan Xpert, MSI Dragon Center, and Gigabyte SIV. These tools make it easy to adjust fan settings and check system temperatures.
Verifying Proper PWM Function:
To check if your PWM connection works, monitor fan speeds and test temperature response.
Monitoring Fan Speeds:
Use tools like HWMonitor or SpeedFan to watch fan speeds. These tools show real-time fan RPM data, confirming PWM control.
Testing Temperature Response:
Use stress-testing software like Prime95 to test temperature response. Observe how fans adjust speed with temperature changes.
By following these steps, you’ll ensure your PWM connection is set up right. This provides effective cooling for your system.
Conclusion:
Connecting a PWM fan cable to the motherboard is key for good system cooling. This article’s step-by-step guide helps users make sure their fans work well. This ensures the system stays cool and efficient. The motherboard guide shows how to find the right PWM header and connect it correctly. This makes the connection strong and lets you control fan speeds well. By setting up and testing the PWM connection, users get better system performance. They also get less noise and a more reliable system. Making this connection is easy and boosts a system’s cooling power a lot. Now, users can make their system cooler and work better. They’ll enjoy a more efficient computer experience.
FAQ‘s
What is the purpose of a PWM cable?
A PWM cable controls fan speeds on a motherboard. It adjusts fan speeds based on system temperatures.
How do I identify a PWM header on my motherboard?
Look for “PWM” or “Fan Headers” on your motherboard. They have a specific pin layout. Check your motherboard documentation for more information.
Can I connect a PWM fan to a DC header on my motherboard?
No, PWM fans need a PWM header to work right. Using a DC header might not control fan speed properly.
What are the benefits of using PWM fan control?
PWM fan control adjusts fan speeds dynamically. This reduces noise and improves cooling. It also gives more precise temperature control.
How do I configure PWM fan control in BIOS/UEFI?
First, boot into BIOS/UEFI settings. Then, go to the fan control section. Adjust fan curves and profiles as needed. The steps might differ based on your motherboard.
What software options are available for PWM control?
Many motherboard makers offer software for PWM control. For example, ASUS AI Suite or MSI Command Center. These tools help fine-tune fan settings and monitor temperatures.
How do I verify that my PWM connection is working correctly?
Use software or BIOS/UEFI tools to check fan speeds. Observe how fan speeds change with system temperatures.
Can I use a PWM cable with any motherboard?
Check your motherboard’s documentation to see if it supports PWM fan control. Not all motherboards have PWM headers, so check compatibility.
What are some common issues with PWM cable connections?
Issues include wrong connector orientation, loose connections, or incompatible hardware. Follow your motherboard’s installation steps to avoid these problems.
How do I manage PWM cables for better airflow and aesthetics?
Use cable ties and organizers to manage PWM cables. This keeps them away from other parts and improves airflow in your system.
Also Read: How to Update BIOS Without a CPU – Easy Guide 2025!
Read More: How Many USB Ports Does My Motherboard Have? – Full Guide 2025!