What is a Pump Fan on a Motherboard? – Complete Guide 2025!
Wondering about that mysterious “pump fan” header on your motherboard? If you’re building a PC with liquid cooling or troubleshooting your current setup, understanding pump fans is essential. This guide explains what motherboard pump fan headers do, how they benefit PC builders using liquid cooling systems, and why they’re different from regular fan connections.
We’ll cover how to identify pump fan headers on your motherboard and walk through basic BIOS settings to optimize your cooling performance.
Understanding Pump Fans on Motherboards:
Definition and Basic Function:
Ever looked at your motherboard and wondered about that mysterious “PUMP_FAN” header? It’s not just another random connector.
A pump fan header on a motherboard is specifically designed to power and control the pump in a liquid cooling system. Unlike regular fan headers, this one is engineered to handle the consistent power requirements that liquid cooling pumps demand.
Most pump headers deliver a constant 12V to keep your cooling pump running at full speed all the time. This is crucial because you definitely don’t want your pump slowing down or stopping while your CPU is cranking out heavy workloads.
How Pump Fans Differ from Regular CPU Fans:
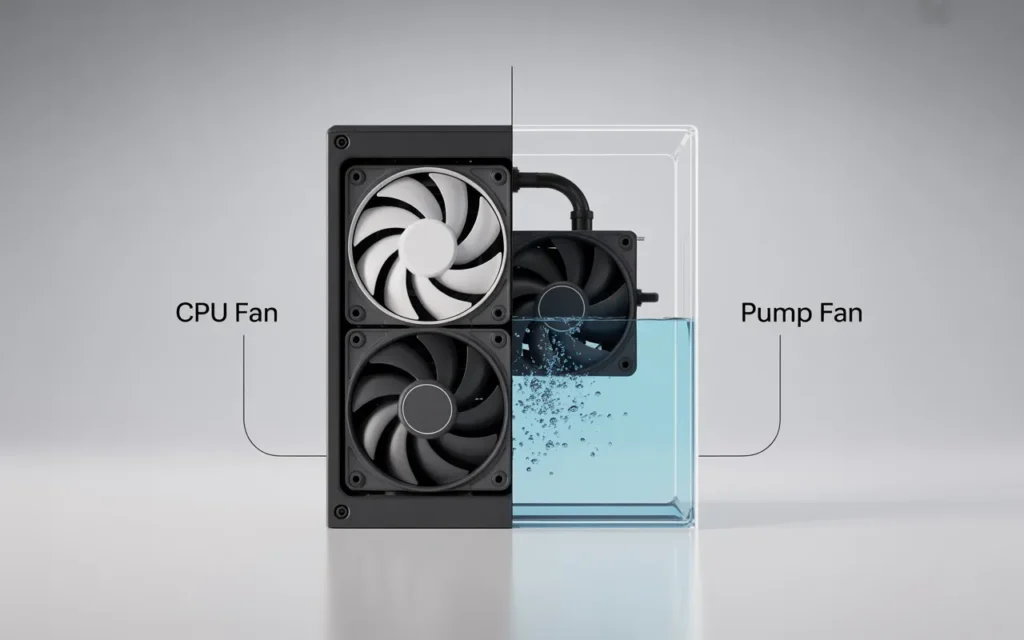
Regular CPU fan headers and pump fan headers aren’t the same beast. Here’s the breakdown:
| Feature | Pump Fan Header | Regular CPU Fan Header |
| Power Delivery | Constant 12V in most cases | Variable based on temperature |
| Control Method | Often fixed at 100% | PWM or voltage regulation |
| Current Rating | Higher (up to 2A+) | Lower (typically 1A) |
| Purpose | Runs liquid cooling pumps | Drives air cooling fans |
The pump header is built to handle more current because pumps typically draw more power than standard cooling fans. Your motherboard BIOS also treats these headers differently, often preventing them from being throttled down.
The Role of Liquid Cooling Systems:
In a liquid cooling setup, the pump is basically the heart of the entire system. It circulates coolant from your CPU or GPU through the radiator, where heat gets dissipated.
If your pump isn’t running properly, the coolant stops flowing, and temperatures skyrocket faster than you can say “thermal throttling.” That’s why the dedicated pump header is crucial—it ensures your pump gets constant, reliable power.
Most modern AIO (All-In-One) liquid coolers connect directly to this header. The motherboard can monitor the pump’s RPM, giving you peace of mind that everything’s running smoothly. Some advanced boards even allow you to set alerts if the pump RPM drops below a safe threshold.
Why Your Motherboard Needs a Pump Fan Header:
Supporting AIO Liquid Cooling Solutions:
Ever wondered why your fancy new all-in-one liquid cooler needs a special connection? That’s where pump fan headers come in. These aren’t just regular fan connections they’re specifically designed to power the pump in your AIO cooling system.
Most modern motherboards include at least one pump header labeled “PUMP_FAN” or “W_PUMP.” This isn’t just clever marketing—these headers are built differently. They deliver consistent power to keep your cooling pump running at optimal speed all the time. The last thing you want is your pump randomly slowing down when you’re in the middle of a gaming session!
Power Delivery Specifications:
The pump fan header isn’t just a renamed fan connector. It typically delivers constant 12V power with higher amperage ratings than standard fan headers. While regular headers might offer 1A max, pump headers often provide up to 3A of current.
Here’s what sets pump headers apart:
- Continuous 100% power delivery (unlike PWM fan headers that adjust speeds)
- Higher current capacity (2-3A vs 1A on standard headers)
- Dedicated BIOS settings for pump management
- Usually located near a CPU socket for shorter cable runs.
Monitoring Capabilities:
Smart motherboards don’t just power your pump—they keep tabs on it too. The pump header monitors:
- RPM feedback to verify your pump is actually running
- Temperature data from the pump assembly
- Power consumption metrics
- Operating efficiency
This data shows up in your BIOS and can be tracked through motherboard software like ASUS AI Suite, MSI Dragon Center, or Gigabyte APP Center.
Failure Protection Features:
Nobody wants their cooling to fail during an intense workload. Pump headers include critical safety features:
- Automatic shutdown triggers if pump RPM drops to zero
- Audible alarm options when pump performance degrades
- Emergency CPU throttling to prevent damage
- Adjustments to the custom fan curve are made to ensure backup air cooling.
These safeguards prevent the nightmare scenario of cooking your expensive CPU because the cooling pump decided to take a day off.
Identifying Pump Fan Headers on Your Motherboard:
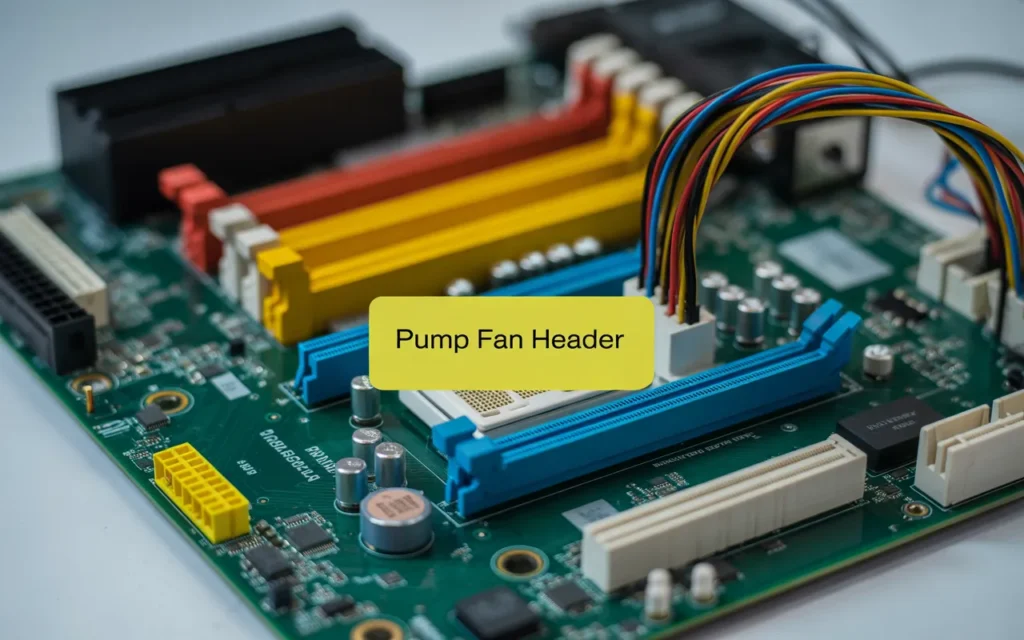
Common Labeling Conventions:
Hunting for that pump fan header on your motherboard? The good news is manufacturers typically label them clearly—though not always consistently. Most modern motherboards mark these headers as “PUMP_FAN,” “W_PUMP,” or sometimes “AIO_PUMP.”
ASUS boards often use “W_PUMP+” or “AIO_PUMP,” while MSI typically goes with “PUMP_FAN.” Gigabyte boards might label them “W_PUMP,” and ASRock usually sticks with “W_PUMP” or “PUMP_FAN.”
The manual is your best friend here. Flip to the motherboard layout section and you’ll find every header properly identified.
Physical Characteristics and Placement:
Pump fan headers aren’t just randomly scattered across your motherboard. They’re strategically placed near the CPU socket and RAM slots since that’s where most water cooling pumps are installed.
These headers often stand out from regular fan headers. They’re frequently colored differently—you might spot white, yellow, or blue headers instead of the standard black ones used for case fans.
Another telltale sign: pump headers are usually isolated a bit from clusters of regular fan headers. Manufacturers do this intentionally to help you quickly spot them during installation.
Pin Configuration Differences:
While looking identical to regular fan headers at first glance, pump fan headers have some crucial differences:
| Pin Count | 4-pin | 4-pin |
| Power Delivery | 12V, up to 1A (12W) | 12V, up to 2A (24W) or more |
| PWM Control | Standard PWM | Modified for pump control |
| Default Setting | Variable speed | Often runs at 100% by default |
The biggest difference is power delivery. Pump headers can supply more current since pumps typically need more power than standard fans. This is why you should never connect high-power pumps to regular fan headers—you might fry your motherboard’s circuitry.
Configuring Pump Fan Settings in BIOS:
Accessing Pump Fan Controls
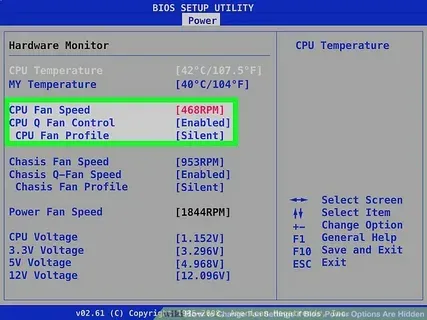
Accessing your pump fan settings doesn’t require extensive knowledge, but it does necessitate a brief visit to your BIOS. When your computer starts up, hit Delete, F2, or F12 (depending on your motherboard) during the boot sequence. Once you’re in, look for a section called “Hardware Monitor,” “Fan Control,” or “Q-Fan Control.” Most modern motherboards group all cooling options together, making the pump fan header settings easy to find.
Some manufacturers like ASUS and MSI have their own fancy names for these sections like AI Suite or Command Center. Navigate using your arrow keys and Enter button. Can’t find it? Please refer to your motherboard manual, as it will guide you directly to it.
Optimal Speed Settings:
Here’s the truth about pump speeds—they don’t need to ramp up and down like regular fans. For most AIO coolers, you want a constant, reliable speed. Setting your pump to run at 70-100% is generally the sweet spot.
Why not 100% all the time? Well, some pumps get noisy at max speed, and the cooling benefit is minimal compared to, say, 80%. But running below 60% might not push enough coolant through your system.For custom loops, your optimal settings might vary based on your specific pump model. D5 pumps, for instance, can often run effectively at 60–70% for daily use, saving 100% for intense gaming or rendering sessions.
Creating Custom Fan Curves:
Custom fan curves for your pump give you the best of both worlds—quiet operation during light tasks and maximum cooling when you’re pushing your system.
To set one up:
- Find the curve adjustment screen in BIOS.
- Identify key temperature points (40°C, 60°C, 75°C, 85°C+)
- Assign pump speeds to each point
A favorable starting curve might look like this:
- Below 40°C: 60% pump speed
- 40-60°C: 70% pump speed
- 60-75°C: 80% pump speed
- Above 75°C: 100% pump speed
Test different curves to find what works for your specific setup. Some enthusiasts prefer a flatter curve for pumps to minimize noise fluctuations.
Warning Thresholds and Alerts:
Modern BIOS interfaces let you set up alerts for when things go south with your cooling system. This is super important for your pump if it fails, your CPU temperatures can skyrocket in seconds.
Set up warnings at:
- Low RPM threshold (if pump drops below 80% of expected RPM)
- High temperature threshold (usually around 80-85°C)
Most motherboards can trigger three types of alerts:
- On-screen warnings
- System shutdown/throttling
- Beep codes through the system speaker
Don’t skip this step! A dead pump without warnings can lead to permanent hardware damage before you even notice the problem.
PWM vs. DC Control Modes:
The main difference between PWM and DC control is that PWM provides more precise control, whereas DC is more widely compatible.
PWM (4-pin) control adjusts speed by rapidly switching the power on and off, giving you fine-grained control from 0-100%. DC (3-pin) control simply varies the voltage, which works but with less precision and a narrower range (usually 50-100%).
For pump control, PWM is generally superior because:
- It allows lower minimum speeds without stalling.
- Provides more consistent performance
- Enables more precise custom curves
If your pump has a 3-pin connector but your motherboard has a 4-pin header, it’ll still work, but in DC mode. Just be certain to switch the control mode in BIOS from “PWM” to “DC” or “Voltage” mode to prevent erratic behavior.
Read More: What is AAFP on a motherboard? – Quick Guide 2025!
Troubleshooting Common Pump Fan Issues:
Addressing Connection Problems:
Pump fan issues often start with a bad connection. First, check if the pump fan is actually plugged in correctly. Sounds obvious, but you’d be surprised how often this is the problem.
Look at the motherboard and find the header labeled “PUMP_FAN” or “AIO_PUMP.” That’s where your pump should connect. Plugging it into a regular fan header may lead to strange behavior, as these headers don’t offer the consistent power required for a pump.
Also, inspect the cable for any damage. Bent pins or frayed wires are common culprits. Occasionally the solution is as simple as reseating the connector—just unplug it and plug it back in firmly.
Resolving Speed Control Failures
When your pump runs at the wrong speed or doesn’t adjust properly, head to your BIOS settings. Look for fan control settings related specifically to the pump header.
Make sure the pump header is set to “Full Speed” or “100%” mode, not PWM or DC control. Pumps typically need to run at constant speeds, unlike regular cooling fans.
If you’re using software like Corsair iCUE or NZXT CAM to control your pump, check if it’s conflicting with your BIOS settings. Sometimes you need to set the BIOS to let the software take control.
Dealing with Error Messages:
Those annoying “CPU Fan Error” or “Pump Error” messages usually show up when the motherboard doesn’t detect proper pump operation.
To fix this, enter BIOS and look for fan monitoring settings. Some motherboards let you disable specific warnings. If your pump is working fine but connected to a different header, you might need to disable the CPU fan warning.
For AIO coolers with dedicated software, make sure you’re running the latest version. Outdated software can trigger false error messages.
When to Replace Your Pump:
Pumps aren’t immortal. If you hear grinding noises or notice temperature spikes despite proper connections and settings, your pump might be failing.
Most AIO coolers last 3-6 years before the pump starts wearing out. Listen for unusual noises a healthy pump has a consistent, quiet hum. A dying pump makes irregular, louder sounds.
Watch your CPU temperatures. If they suddenly climb 10-15°C higher than normal during the same tasks, that’s a red flag.
Don’t wait until complete failure. When your pump starts showing these symptoms, start shopping for a replacement. Your expensive CPU will thank you.
Conclusion:
Pump fan headers on motherboards play a crucial role in maintaining optimal cooling performance for liquid cooling systems. These specialized connections allow your CPU or GPU water pumps to operate independently from standard cooling fans, ensuring consistent flow rates regardless of temperature fluctuations. With dedicated pump headers providing constant power delivery and specialized monitoring capabilities, your liquid cooling system can function at peak efficiency while avoiding potential damage from pump speed variations.
Whether you’re building a high-performance gaming rig or simply upgrading your cooling solution, understanding how to identify, configure, and troubleshoot pump fan connections is essential for system stability and longevity. Take time to explore your motherboard’s BIOS settings to fine-tune pump performance according to your specific cooling needs, and remember that proper pump fan setup forms the foundation of an effective liquid cooling system that will keep your components running cool under pressure.
FAQs:
How do I know if my build needs a Pump Fan on a Motherboard?
If you’re using an AIO or custom liquid cooling system, you need a pump fan header to provide constant power. Air cooling setups don’t require it.
Can I plug a regular cooling fan into a Pump Fan header?
Technically yes, but it’s not recommended. Pump fan headers supply higher current and constant 12V power, which may shorten a regular fan’s lifespan.
Does every Pump Fan on a Motherboard run at 100% speed by default?
Yes, most pump headers are designed to deliver constant full power to ensure the pump never stalls.
Is it safe to ignore Pump Fan RPM warnings in BIOS?
No, disabling or ignoring these alerts can put your CPU at risk if the pump ever fails.
Do all motherboards include a Pump Fan on a Motherboard connection?
No, entry-level or budget motherboards may only provide standard CPU and chassis fan headers without a dedicated pump header.